
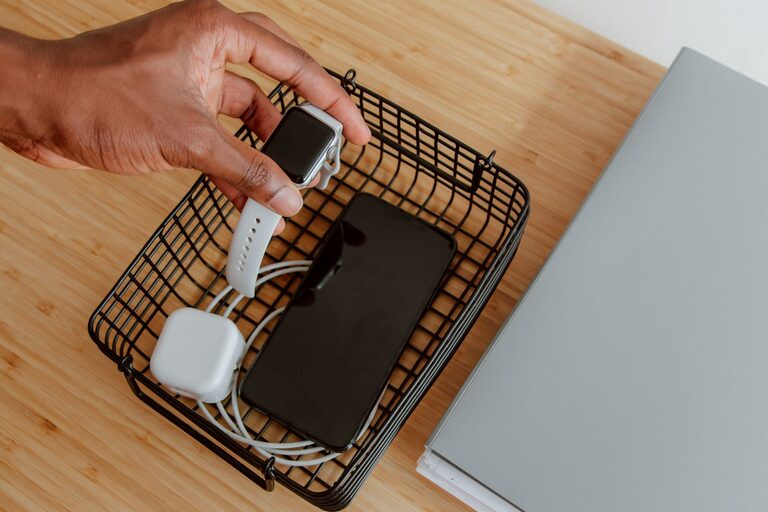
Setting up a dedicated charging station for your devices can simplify your daily routine and keep your space tidy. With so many gadgets needing power—smartphones, tablets, laptops, smartwatches—the cords and chargers can quickly become a tangled mess. Creating a central charging area not only helps you stay organized but can also extend the life of your devices and their batteries.
In this guide, we’ll walk you through everything you need to know to set up an effective charging station at home.
Why You Need a Charging Station
Before diving into the setup, it helps to understand why a charging station is beneficial:
– Organization: Keeps cords and devices in one place to avoid clutter.
– Efficiency: Allows multiple devices to charge simultaneously.
– Safety: Reduces the risk of tripping over cables or damaging devices.
– Convenience: Makes it easier to find and charge devices quickly.
Choosing the Right Location
The first step is to decide where to place your charging station. Here are some things to consider:
– Accessibility: Choose a spot that everyone in the household can access easily, like a common area or near your main workspace.
– Power Outlet Availability: Ensure there are enough power outlets nearby to accommodate your chargers and any additional equipment.
– Surface Space: Look for a flat surface such as a desk, shelf, or small table that can hold all your devices and accessories.
– Ventilation: Avoid closed spaces to prevent chargers and devices from overheating.
Common locations include living rooms, kitchens, home offices, or entryways.
Types of Charging Stations
There are several options depending on your needs and budget:
1. DIY Charging Station
Create a customized solution using materials you already have:
– Use a small shelf or basket to hold devices.
– Add a power strip with surge protection.
– Use cable clips or ties to manage cords.
This approach is cost-effective and allows for flexibility.
2. Commercial Charging Station
Many companies sell ready-made charging stations:
– Multi-port USB hubs with integrated stands.
– Wooden or plastic docking stations with slots for devices.
– Wireless charging pads that accommodate multiple devices.
These products are designed for convenience but can be pricier.
3. Wall-Mounted Chargers
Ideal for saving surface space:
– Mounted USB charging hubs or power strips.
– Wall organizers with built-in cable management.
These help keep counters clear and can look sleek.
Essential Equipment and Accessories
To build your charging station, gather the following:
– Power Strip with Surge Protection: Protects devices from power spikes and provides multiple outlets.
– Multi-Port USB Charger: Enables charging several devices with USB cables.
– Cable Organizers: Clips, ties, or sleeves to keep cords untangled.
– Device Stands or Holders: Keeps devices upright and easy to view while charging.
– Labeling Supplies: Optional, but helpful for identifying each device’s charger and cables.
– Wireless Charging Pads: For compatible devices, reduce cord clutter.
Step-by-Step Setup Guide
Step 1: Sort Your Devices and Chargers
Gather all the devices you and your family regularly charge. Identify the chargers and cables you need, and discard any old, broken, or unused items.
Step 2: Plan Your Layout
Arrange devices to determine how much space and how many outlets you’ll need. Group devices by type or user, if helpful.
Step 3: Set Up Power Sources
Plug the power strip into a wall outlet. Connect your multi-port USB charger to the strip if you’re using one. Make sure cords won’t create a hazard by running under rugs or across walking paths.
Step 4: Organize Cables
Use cable ties, clips, or sleeves to bundle excess cord length and prevent tangling. Secure cables along the back or underside of furniture to keep them out of sight.
Step 5: Arrange Devices and Chargers
Place your charging station accessories in position. Use device holders or stands to keep gadgets upright and easy to access.
Step 6: Test Charging
Plug in devices to confirm everything charges properly and identify if any cables or ports need adjustments.
Tips for Maintaining Your Charging Station
– Keep it Clean: Dust and wipe surfaces regularly to maintain an attractive and safe area.
– Rotate Cables: To avoid wear, occasionally switch out cables if you have spares.
– Label Cables: If multiple devices use similar chargers, labeling can prevent confusion.
– Update Equipment: Replace chargers and cables that show signs of damage.
– Encourage Use: Make sure all family members or users know the station’s location and purpose.
Additional Considerations
– Wireless Charging: If most of your devices support wireless charging, investing in a multi-device charging pad can greatly simplify your setup.
– Travel Charging: Consider keeping a smaller, portable charging station for your travel essentials.
– Smart Power Strips: These can automatically turn off power to devices that are fully charged, saving energy.
Conclusion
A thoughtfully designed charging station can transform the way you manage your devices. It reduces clutter, improves accessibility, and keeps your gadgets powered and ready for use. Whether you build a simple DIY setup or purchase a commercial station, the key is to plan carefully and maintain organization. With the right setup, charging your devices becomes a hassle-free part of your daily routine.
About the Author